Automotive
How to Replace a Radiator of Your Car
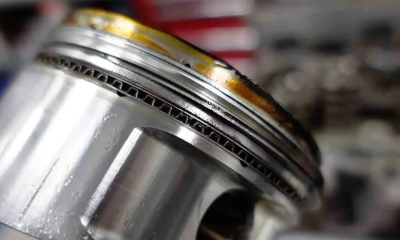
Radiator
Car radiator plays an important role to remove heat from engine coolant after it is cycled through the vehicle engine. If your car gets overheated and damaged, then the main reason behind this is the non-functioning radiator.
As the radiator is a big and main part of your car cooling system. Inside the radiator, the fluid passes through tubes surrounded by fins that direct the flow of air. When your vehicle is moving, that directed air flows through the fins and cools the coolant system. Afterward, the cooler coolant is sent back to the engine.
In the event of a radiator failure, engine overheating can occur, leading to potential engine damage. The process of replacing a new radiator isn’t too complicated but it is important to follow our instructions to prevent a mess or impact on the system.
You may also like to learn; How to Maintain Your Auto Chassis.
How to Replace Your Car Radiator
Step 1: Safety Measures
The most important thing that every vehicle owner should know is that the radiator has electrical connections. So, make sure to disconnect the battery before doing anything.
Second, you have to raise the vehicle so you can easily access the radiator. Use a car jack and stands to keep your vehicle up, but make sure to put a chock behind the wheels and engage the parking brake. Wait till your car engine gets cold before preceding further.
This process is dangerous, so be careful. Or else, you will encounter sharp edges or any other situation that could cause injury to you. So, wear safety gloves and goggle when about to change the radiator.
Note: In the repeat process, make sure the engine, coolant is not so hot. Protect yourself.
Step 2: Firstly Inspect Then Replace
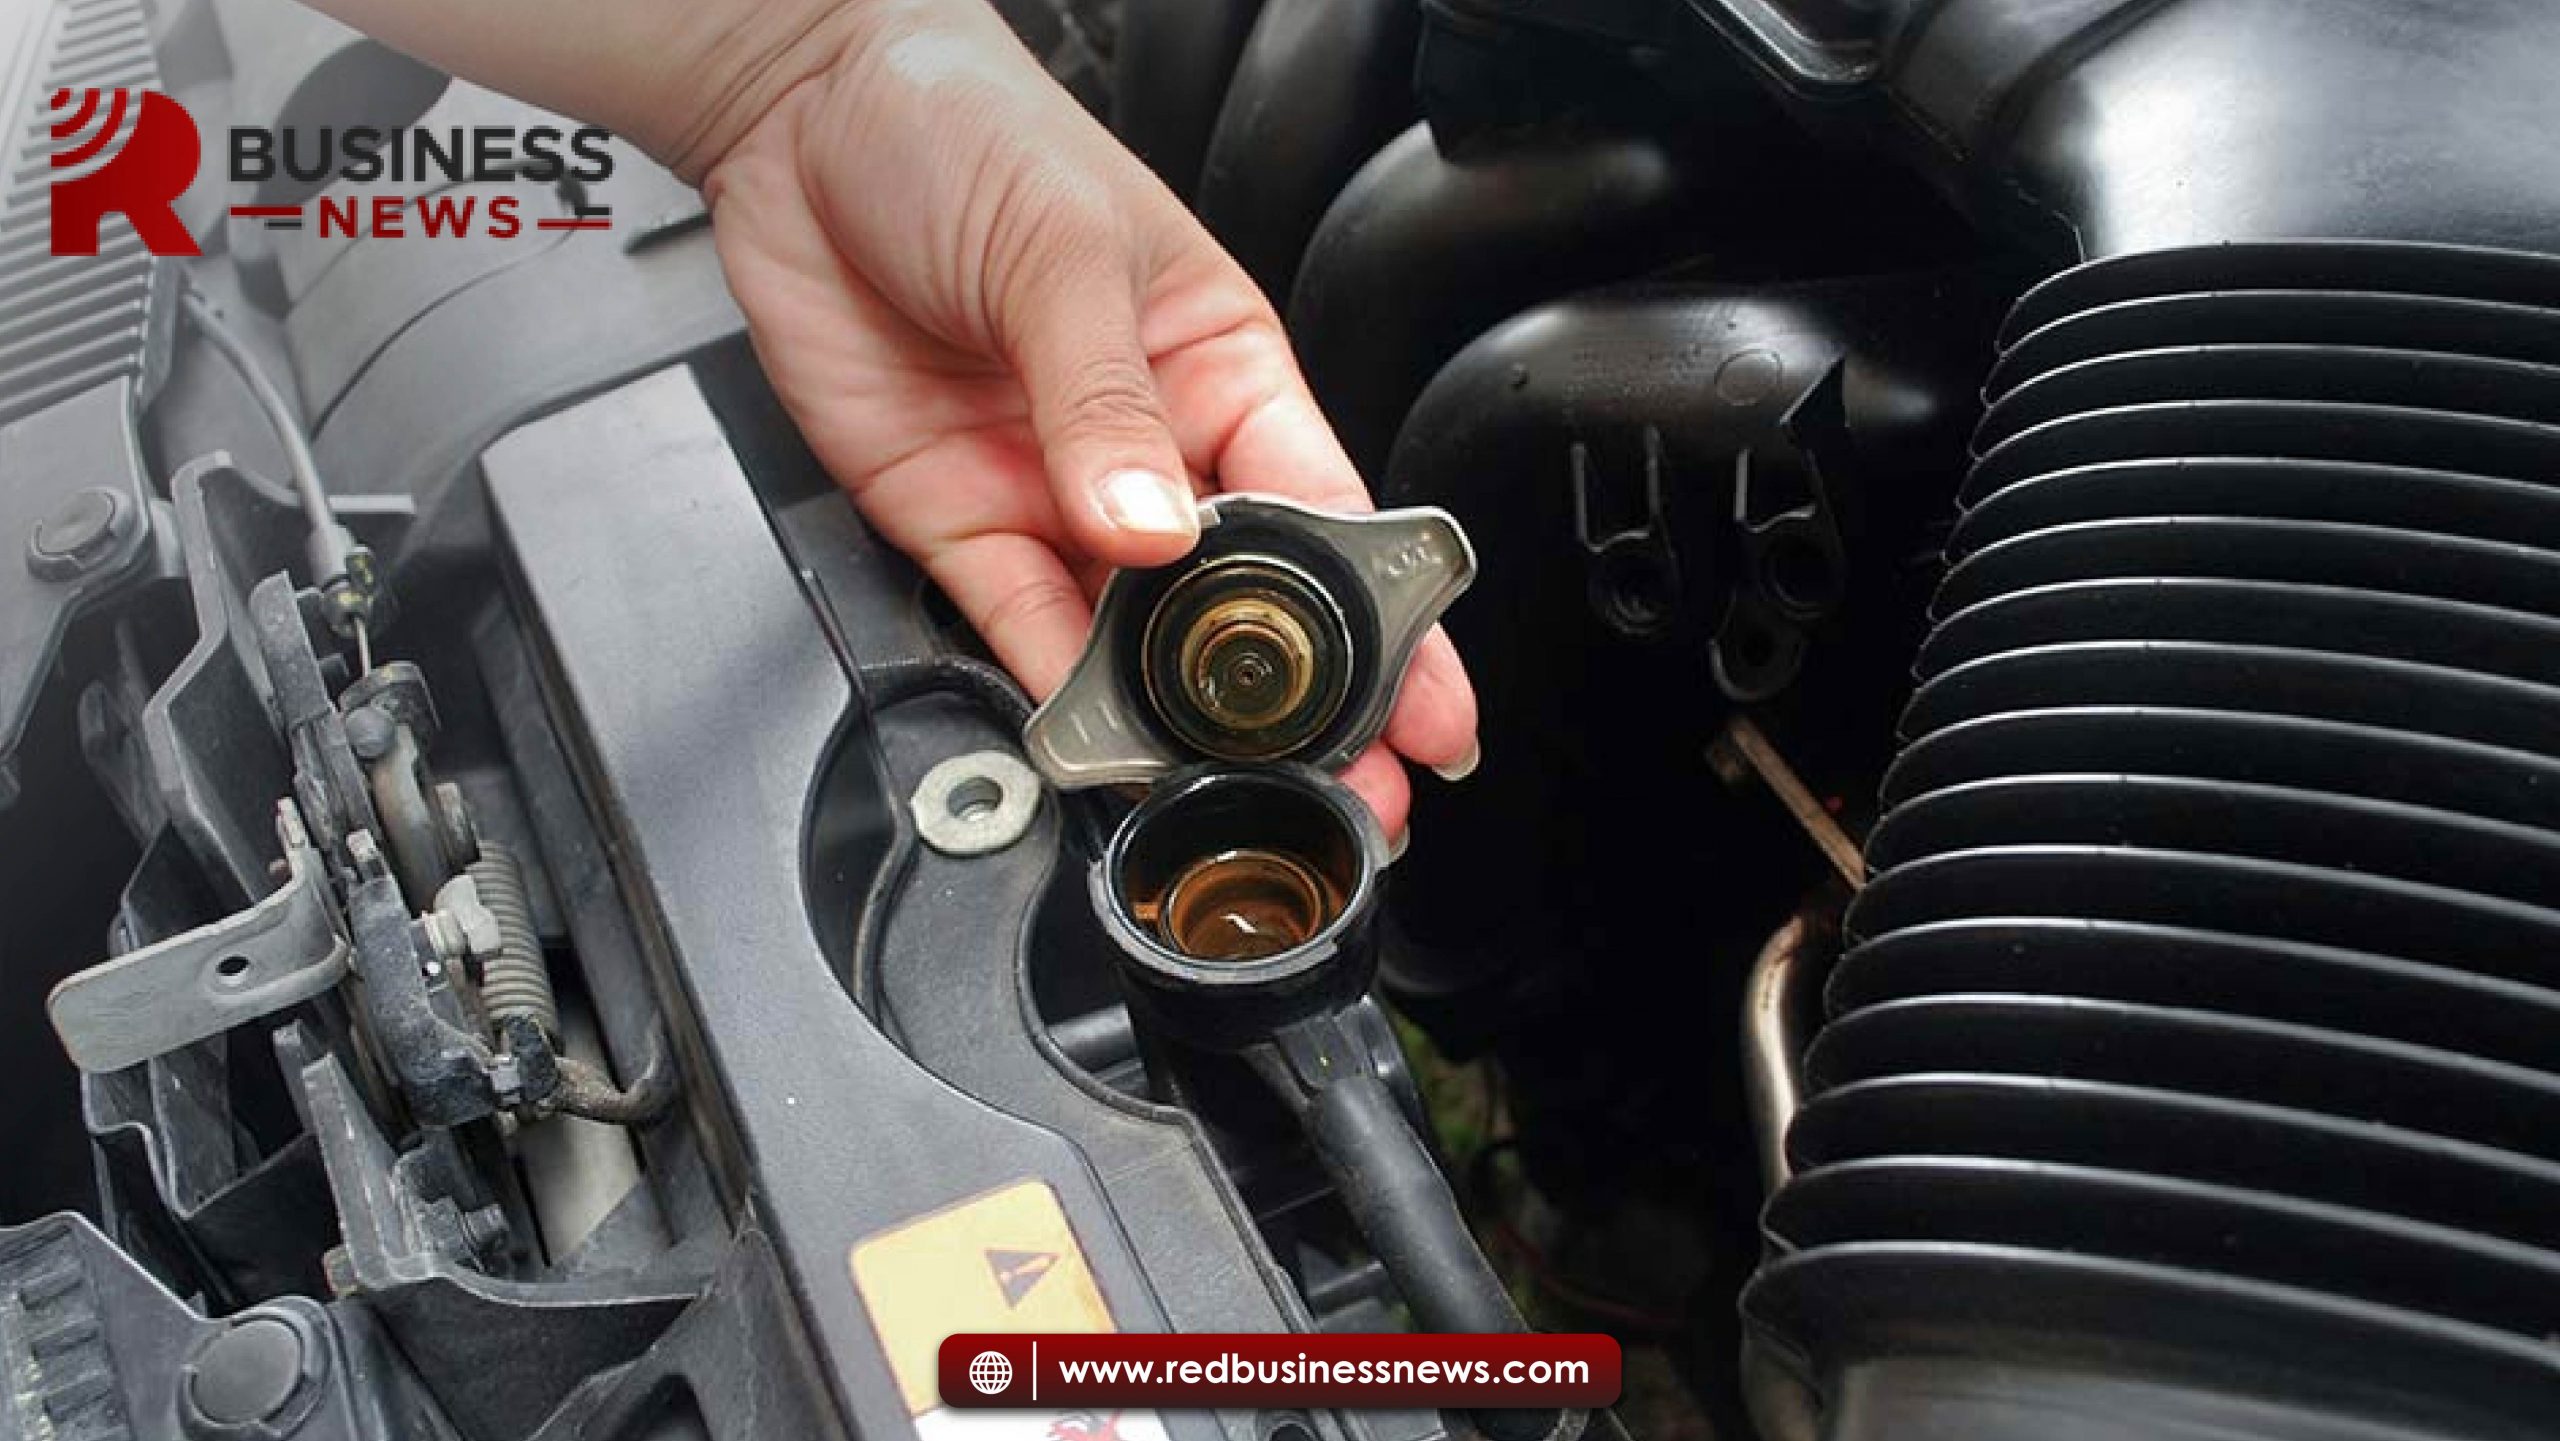
Before replacing a whole radiator, take a minute to check your radiator.
- Inspect the car radiator cap.
- Examine the belts and hoses for damage, cracks, and leaks.
- Check if the fan clutch is present between the radiator and the water pump motor. Make sure that the bearing is in good condition.
Foremost, don’t forget to check your engine thermostat. If your vehicle engine is overheating, then your thermostat might have been damaged. You may want to change this thing when replacing the radiator.
Step 3: Drain the Radiator
If your home has modern plumbing fittings, draining the system should be a simple process. Just remove the flooring and skirting, then get back to work.
Turn off the central heating and shut off the radiator valves by turning them counterclockwise, or turn their thermostatic radiator valves to the “off” position. A lock shield valve’s plastic shield should be removed and turned clockwise. Don’t forget to count the turns so that you can set your new radiator to the same flow rate!
Afterward, take any old bowl and place it beneath the draining valve. Then, lose the cap nuts connecting your radiator to the valve, and use a second spanner to avoid a slip that could harm the surrounding pipes.
Step 4: Disconnect Your Radiator
As soon as the coolant is drained, you can remove the hoses, clamps, and bolts that hold the radiator in place. Disconnect the below-mentioned parts that you to do o most of the vehicles:
- Radiator reservoir hose
- Upper radiator hose
- Lower radiator hose
- Cooling fan
- Cooling fan connector
- Cooling fan mounting bolts
- Cooling fan shroud
- Transmission cooler lines – which most of the car needs special tools for it to disconnect
- Engine oil cooler lines – this has to be disconnected only for 4×4 vehicles and Deisel trucks
- A/C Condenser mounting bolts
- Radiator mounting bolts
Don’t forget to organize your hoses, connectors, bolts, and components. Everything must be installed in reverse order.
Step 5: Replace Old Radiator With New One
If you have removed all the hoses, bolts, and lines, you should be able to remove the radiator. Most of the radiators are removed by lifting up and out of the car, but still, some radiators need to be removed underneath the car.
Step 6: Mount New Radiator
Install the new radiator and reattach all the parts you had removed. You should begin with the radiator mounting bolts and work your way to the radiator reservoir hose.
Step 7: Add Coolant
On the new radiator, make sure all the valves are closed and all the caps are shut. Now, fill the new radiator with coolant after finishing attaching hoses and bolts. Examine oil and transmission fluid levels in case you mistakenly lost any during the installation process.
This is the ideal time to replace your coolant and flush out your cooling system. Our recommendation is to flush and fill the system unless the coolant has recently been replaced. In case the old, drained coolant becomes contaminated with debris or transmission fluid during the process of replacing the radiator, it’s best to just flush and replace it.
Use distilled water to add to the cooling system and ensure that the water to collect ratio must be accurate. Some use a 50/50 mixture whereas some require a stronger coolant ratio.
Step 8: Blow the coolant system’s air
The air that is trapped inside the cooling system gets overheated over time which may lead to reducing the heater’s output performance. The process of breathing out air varies by vehicle, so it’s better to check the repair manual or go to the repair shop for a special procedure to remove trapped air.
As for the part of the procedure, you might need to start your car and let it idle for some time. At the time of this step, inspect your vehicle closely and make sure that the car does not overheat. Check the heat gauge and dashboard lights when the vehicle is idle for 10 to 20 minutes at least. Also, look at all the parts for leakages.
After that step, re-check the coolant level in the reservoir and note if the system has been completely cooled off. Moreover, also re-check the automatic transmission fluid level and engine-level for your protection.